Lowercase Letter M Craft for Preschool
Mice are cute, as long as they are in books or crafts and not in my house! I’ve found that kids love anything related to animals, which makes them perfect for learning activities like this one. In this adorable letter m craft, the letter becomes a mouse. Students will practice the shape and sound of m while making our lowercase letter m craft for preschool.
If you are learning both cases of the letter your child will also love our Uppercase Letter M Craft for kids. Our letter crafts are a great way to teach the alphabet!

Disclaimer: This blog post contains affiliate links. If you use them, I might be rewarded credit or a commission of the sale. Please note that I only recommend tools that I personally use and love and I always have my readers’ best interest at heart.
Introducing the Letter M
As you begin teaching your child a new letter, there are a few things you can do to introduce the letter and it’s sound using books from the library or things you have at home. Books are one of my favorite ways to introduce a letter and its sound because typically the featured word in the title is also repeated throughout the book. We have a fantastic list of Letter M Picture Books that are about a mouse or mice. Pick one or two of those books to read before you being crafting.
Another great way to introduce the letter is through a letter sound scavenger hunt around your home. Pick a room and identify everything you can find that begins with the letter M sound. If you want, make a list ahead of time so you can give your child clues or hot and cold verbal cues to help them find the items that begin with m. If you only have a few items that work around the house, gather them all in one room.

Items you can collect to hide or talk about include money, memory albums, monster toys, moon pictures or toys, plastic animals of moose or monkeys, munchies, a mixer, mixing bowls, a coffee mill, and masks. These are ideas to get you started, but I encourage you to scope it out ahead of time! Place the items on the table where you will make your craft and name each one. As you name the item, emphasize the sound of M and have your student repeat the sound.
Dance the Monster Mash with Kids Bop as a third option for introducing the letter m.
Review the Letter M Shape and Sound
As you go throughout your week, don’t forget to circle back and review what you have learned! Look for signs with the letter M as you drive. Look for letter M products in the grocery store as you shop. Talk about the letter M books you’ve read. Use flashcards or letter manipulatives to review the letters your child already knows.
Materials for the Lowercase Letter M Craft

- white construction paper
- pink construction paper
- black construction paper
- construction paper for the background (color of choice)
- googly eyes
- white pipe cleaner
- tape
- glue
- scissors
- alternative – white paper and crayons
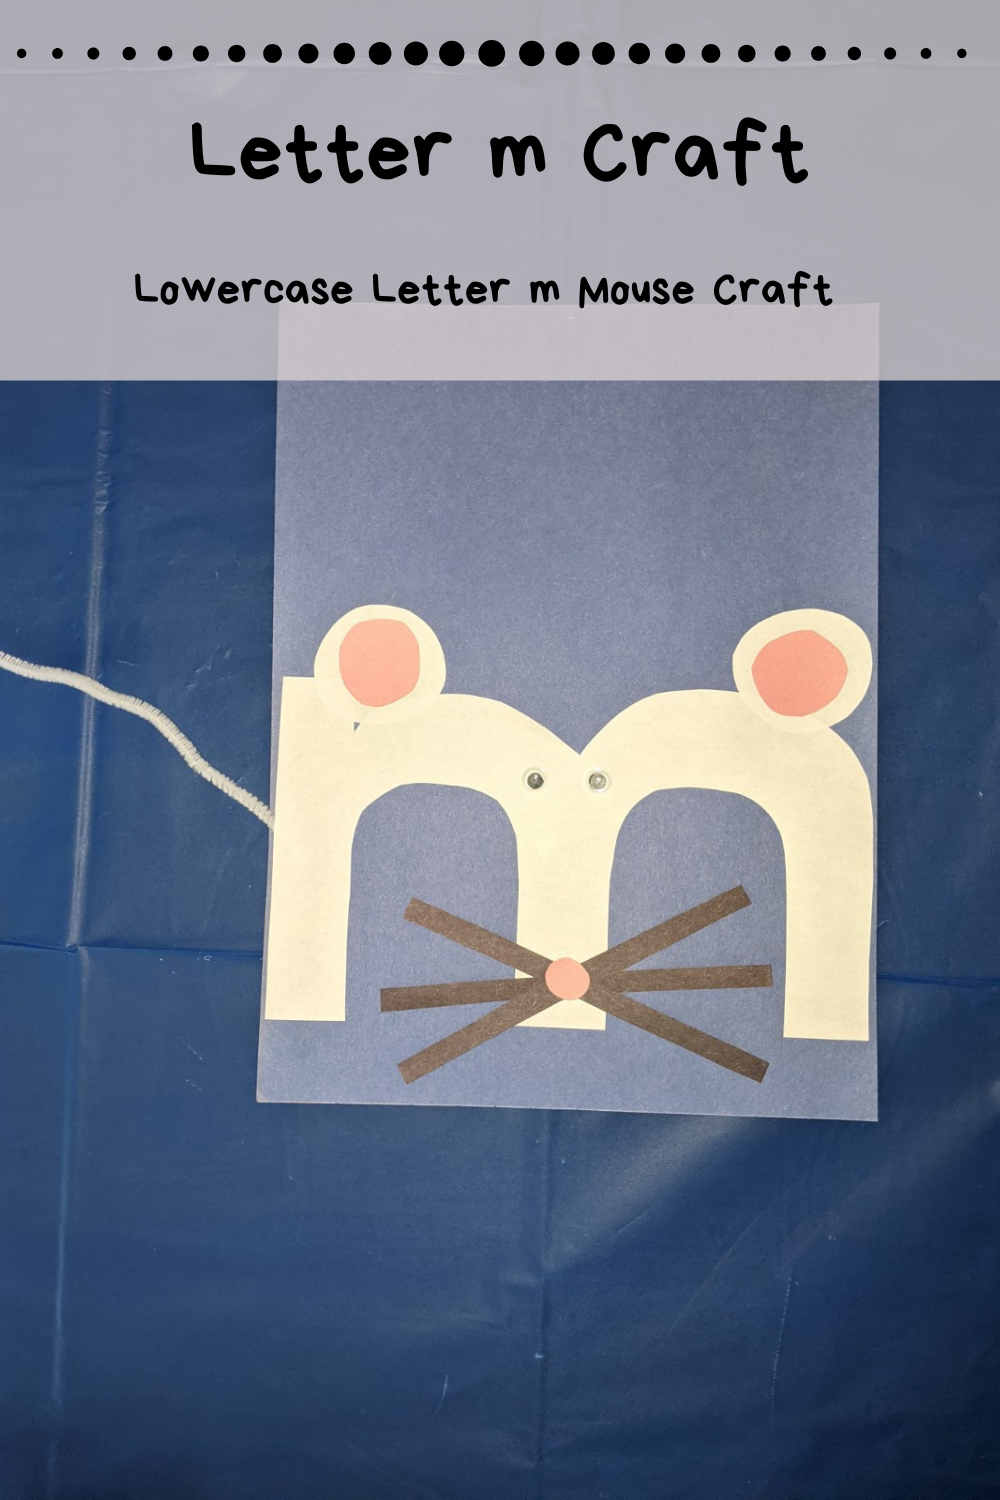
Instructions for the Lowercase Letter M Craft
As you make the letter m craft, make sure to have your child practice the sound of m several times. Tracing the letter as the sound is said will also be helpful. You can have your child say the letter name, draw the letter in the air, trace the letter once it is cut out, and then make the M sound.

- Trace the cut pieces as shown with a thick marker. Then have your student follow the directions below.
- Cut out a lowercase m and 2 medium circles from the white paper.
- Next, cut 2 medium circles and 1 small circle from the pink paper.
- Then cut out 3 long thin rectangles for whiskers from the black paper.
- Next, glue down the lowercase m in the middle of the paper.
- Then glue down the 2 white circles at the top of the lowercase m for ears.
- Next, glue down the 2 medium pink circles inside the white ears.
- Then glue down the 3 long rectangles at the bottom middle of the m to form whiskers.
- Next, glue down the pink nose on top of the middle of the whiskers.
- Then glue down the googly eyes in the center of the m.
- Finally tape down the pipe cleaner on the side of the m to create the mouse’s tail.
Related Posts

Circle Time for Preschool
Circle time for preschool is a wonderful way to begin your learning time together! Start…
July 12, 2021
Fun Ways to Learn the Alphabet
Have you made any of the letter crafts yet? If you are looking for fun…
June 8, 2021